Step-By-Step Watercolor and Pen & Ink Demo

For my blogs 100th post (WOO!) I thought I’d do something a bit special – an in-depth step-by-step demo of one of my paintings. I know I’ve done this briefly before but I thought it might be nice to show a bit more development – and – I even created a little video to go with it.

duck detail 4

The painting featured is 6×9 inches – I worked on it both at home and in the classroom over the course of three different sittings for a total of about 6 hours so the video is not a “watch me paint” kind of video that I’ve been asked to do before – I hope to do this at some point in the future though so stay tuned.

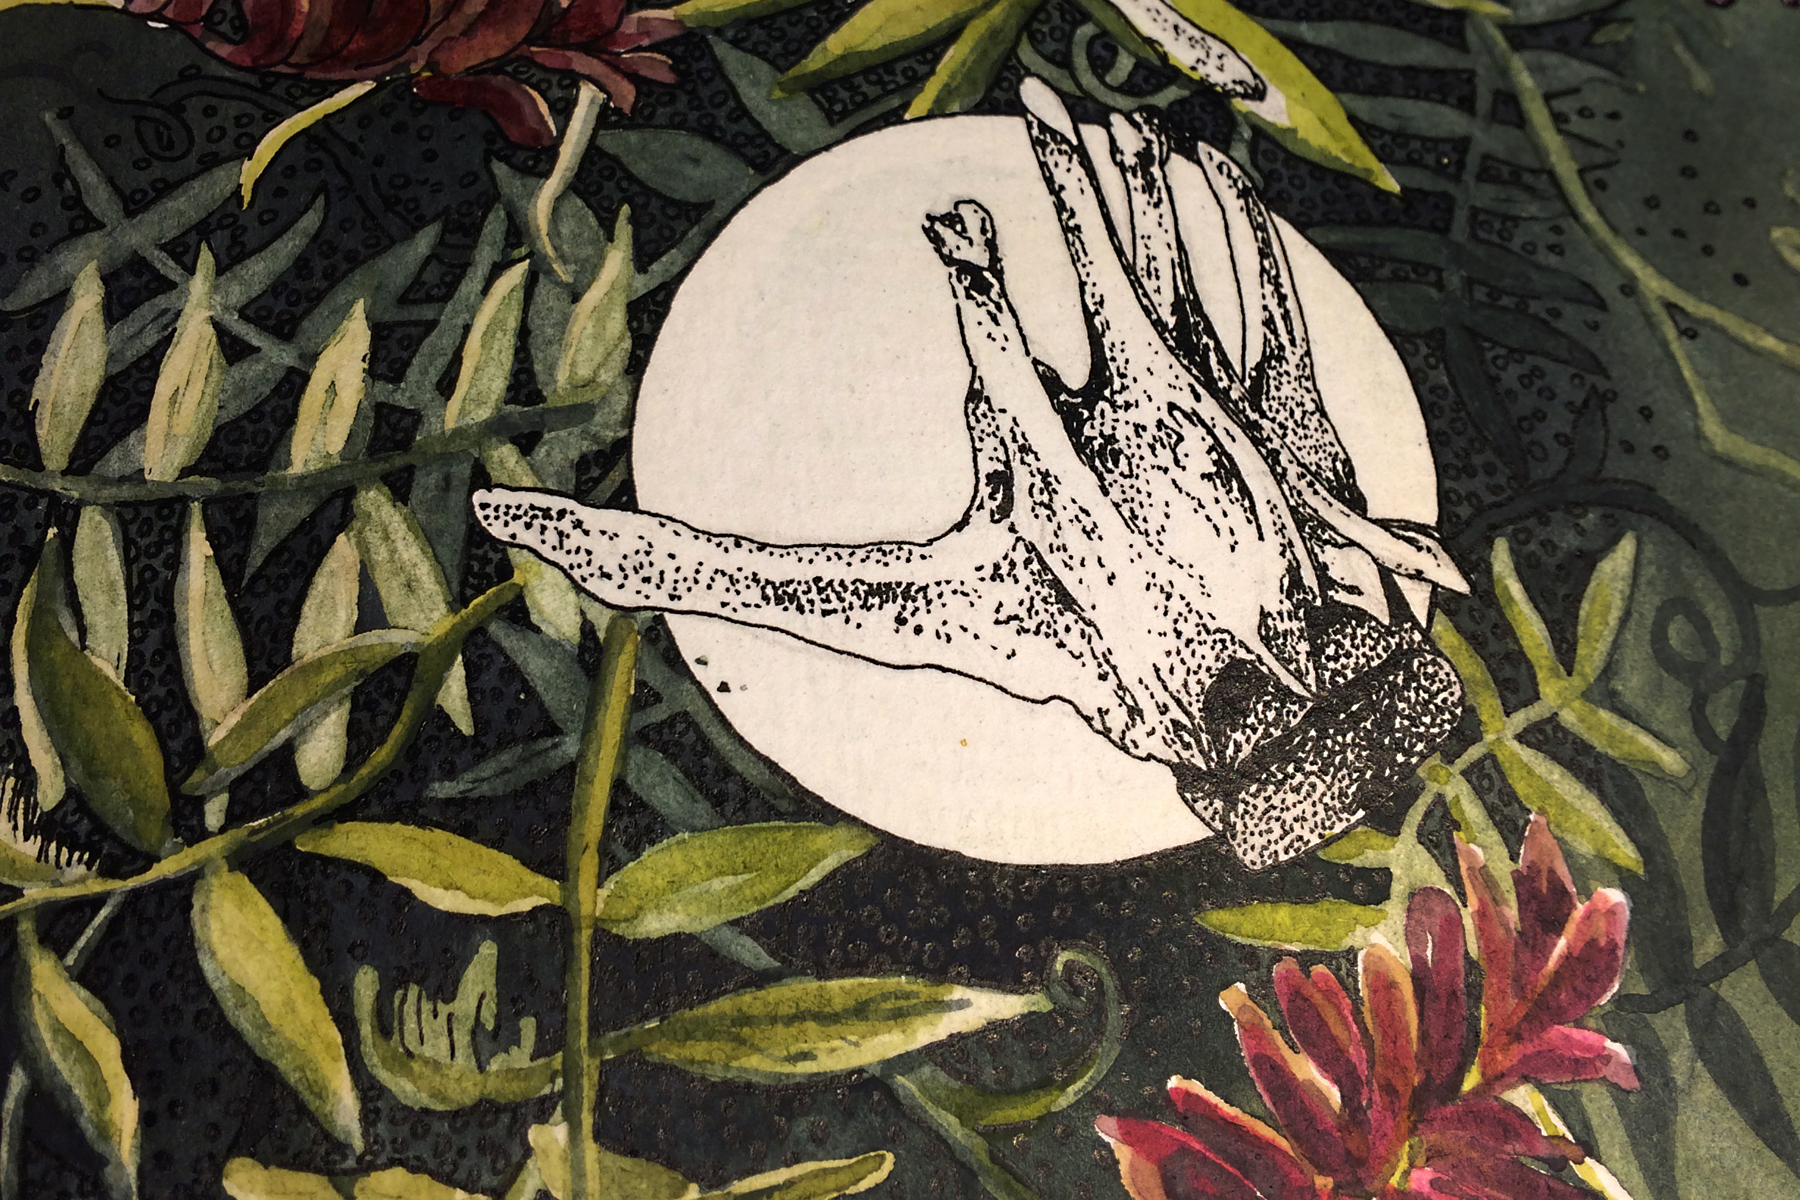
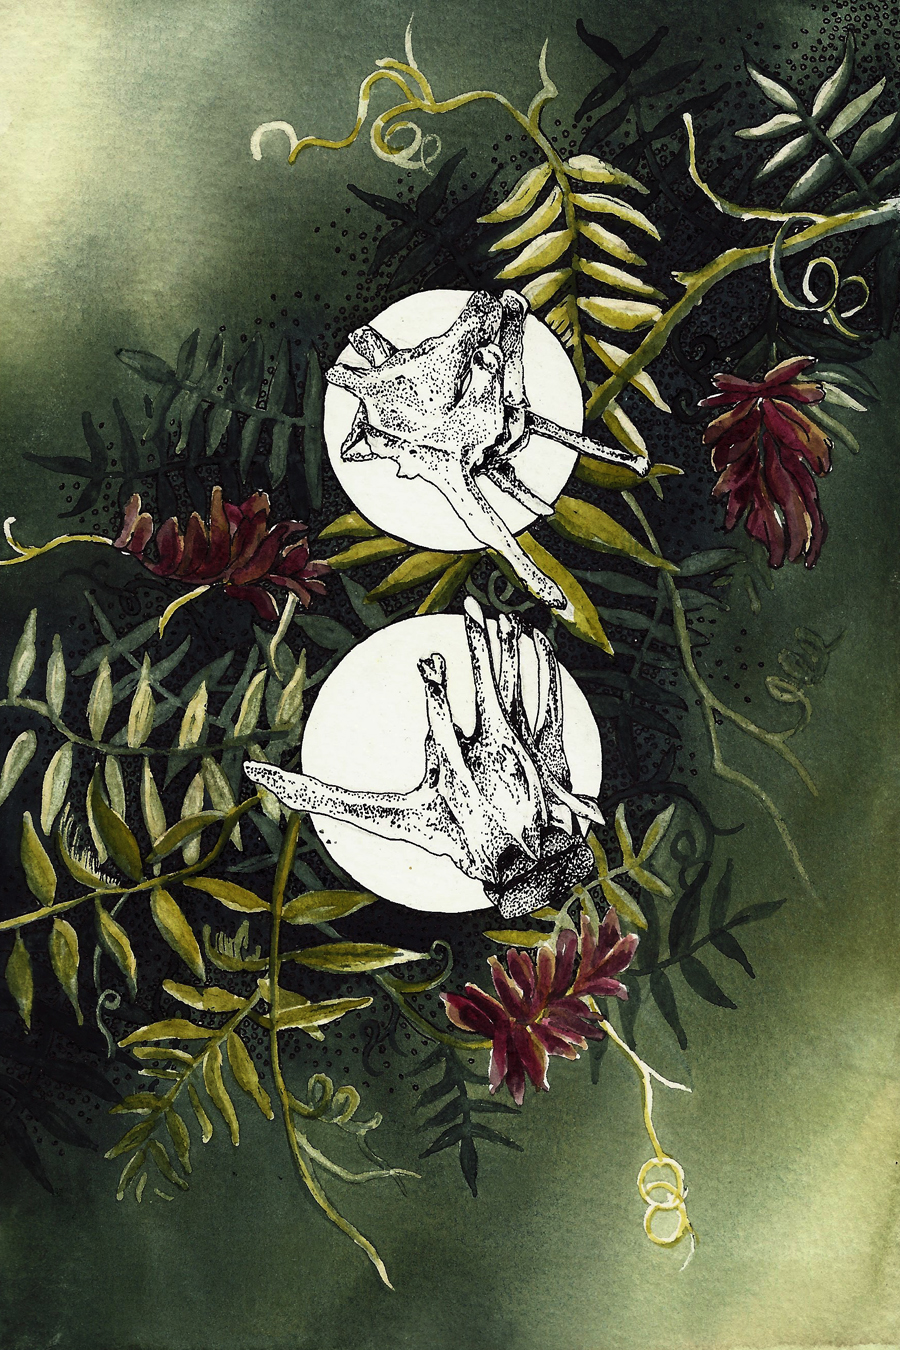
This painting was created with the hopes that I might be able to demonstrate to my watercolor students some of the more expansive practical applications of negative painting and masking but honestly, I also just wanted to make it for myself. I’m really quite happy with the outcome as it finally demonstrates a bit of the “look” I’m going for with a new body of work that centers around animal bones.

Here are a few extra images and several larger images from the video:

bones (small)
Here are the two duck vertebrae used as reference material.
set up (small)
This is my “in-class” set up on the opaque projector.
duck vertebra - 01
The preliminary drawing for the painting is actually a great deal lighter than seen here. I altered the contrast so the drawing was a little more visible.
After the frisket (the orange stuff) was dry I dropped in a good layer of wet-in-wet paint in a variety of ochre and sepia tones.
I applied frisket (the orange stuff) to the drawing to protect all of the areas that needed to stay white. After the frisket was dry I dropped in a good layer of wet-in-wet paint in a variety of yellow ocher and sepia tones.
duck vertebra - 08
After the wet-in-wet layer was dry I added in an additional layer of frisket to protect the areas I wished to remain the color of the previous wash. This process was repeated multiple times (as seen in the video) until this point where the color begins to shift more toward the emerald tones of the final painting.
duck vertebra - 10
After each new layer – or glaze – of wet-in-wet color, I blocked out a bit more of the leaves so that I could build the visual depth in the foliage.
duck vertebra - 12
As watercolor dries lighter than it appears when wet (See below) I had to do quite a few layers to build up the rich jewel tones that were desired. This also created a bit of a problem with the masking fluid (frisket) as the darker pigment was more apt to lift when it was applied. I had to be very careful to apply the fluid as quickly and as gently as possible so as not to disturb the color too much.
dry lighter (small)
This is a good example of how much lighter the pigment becomes once it is completely dried.
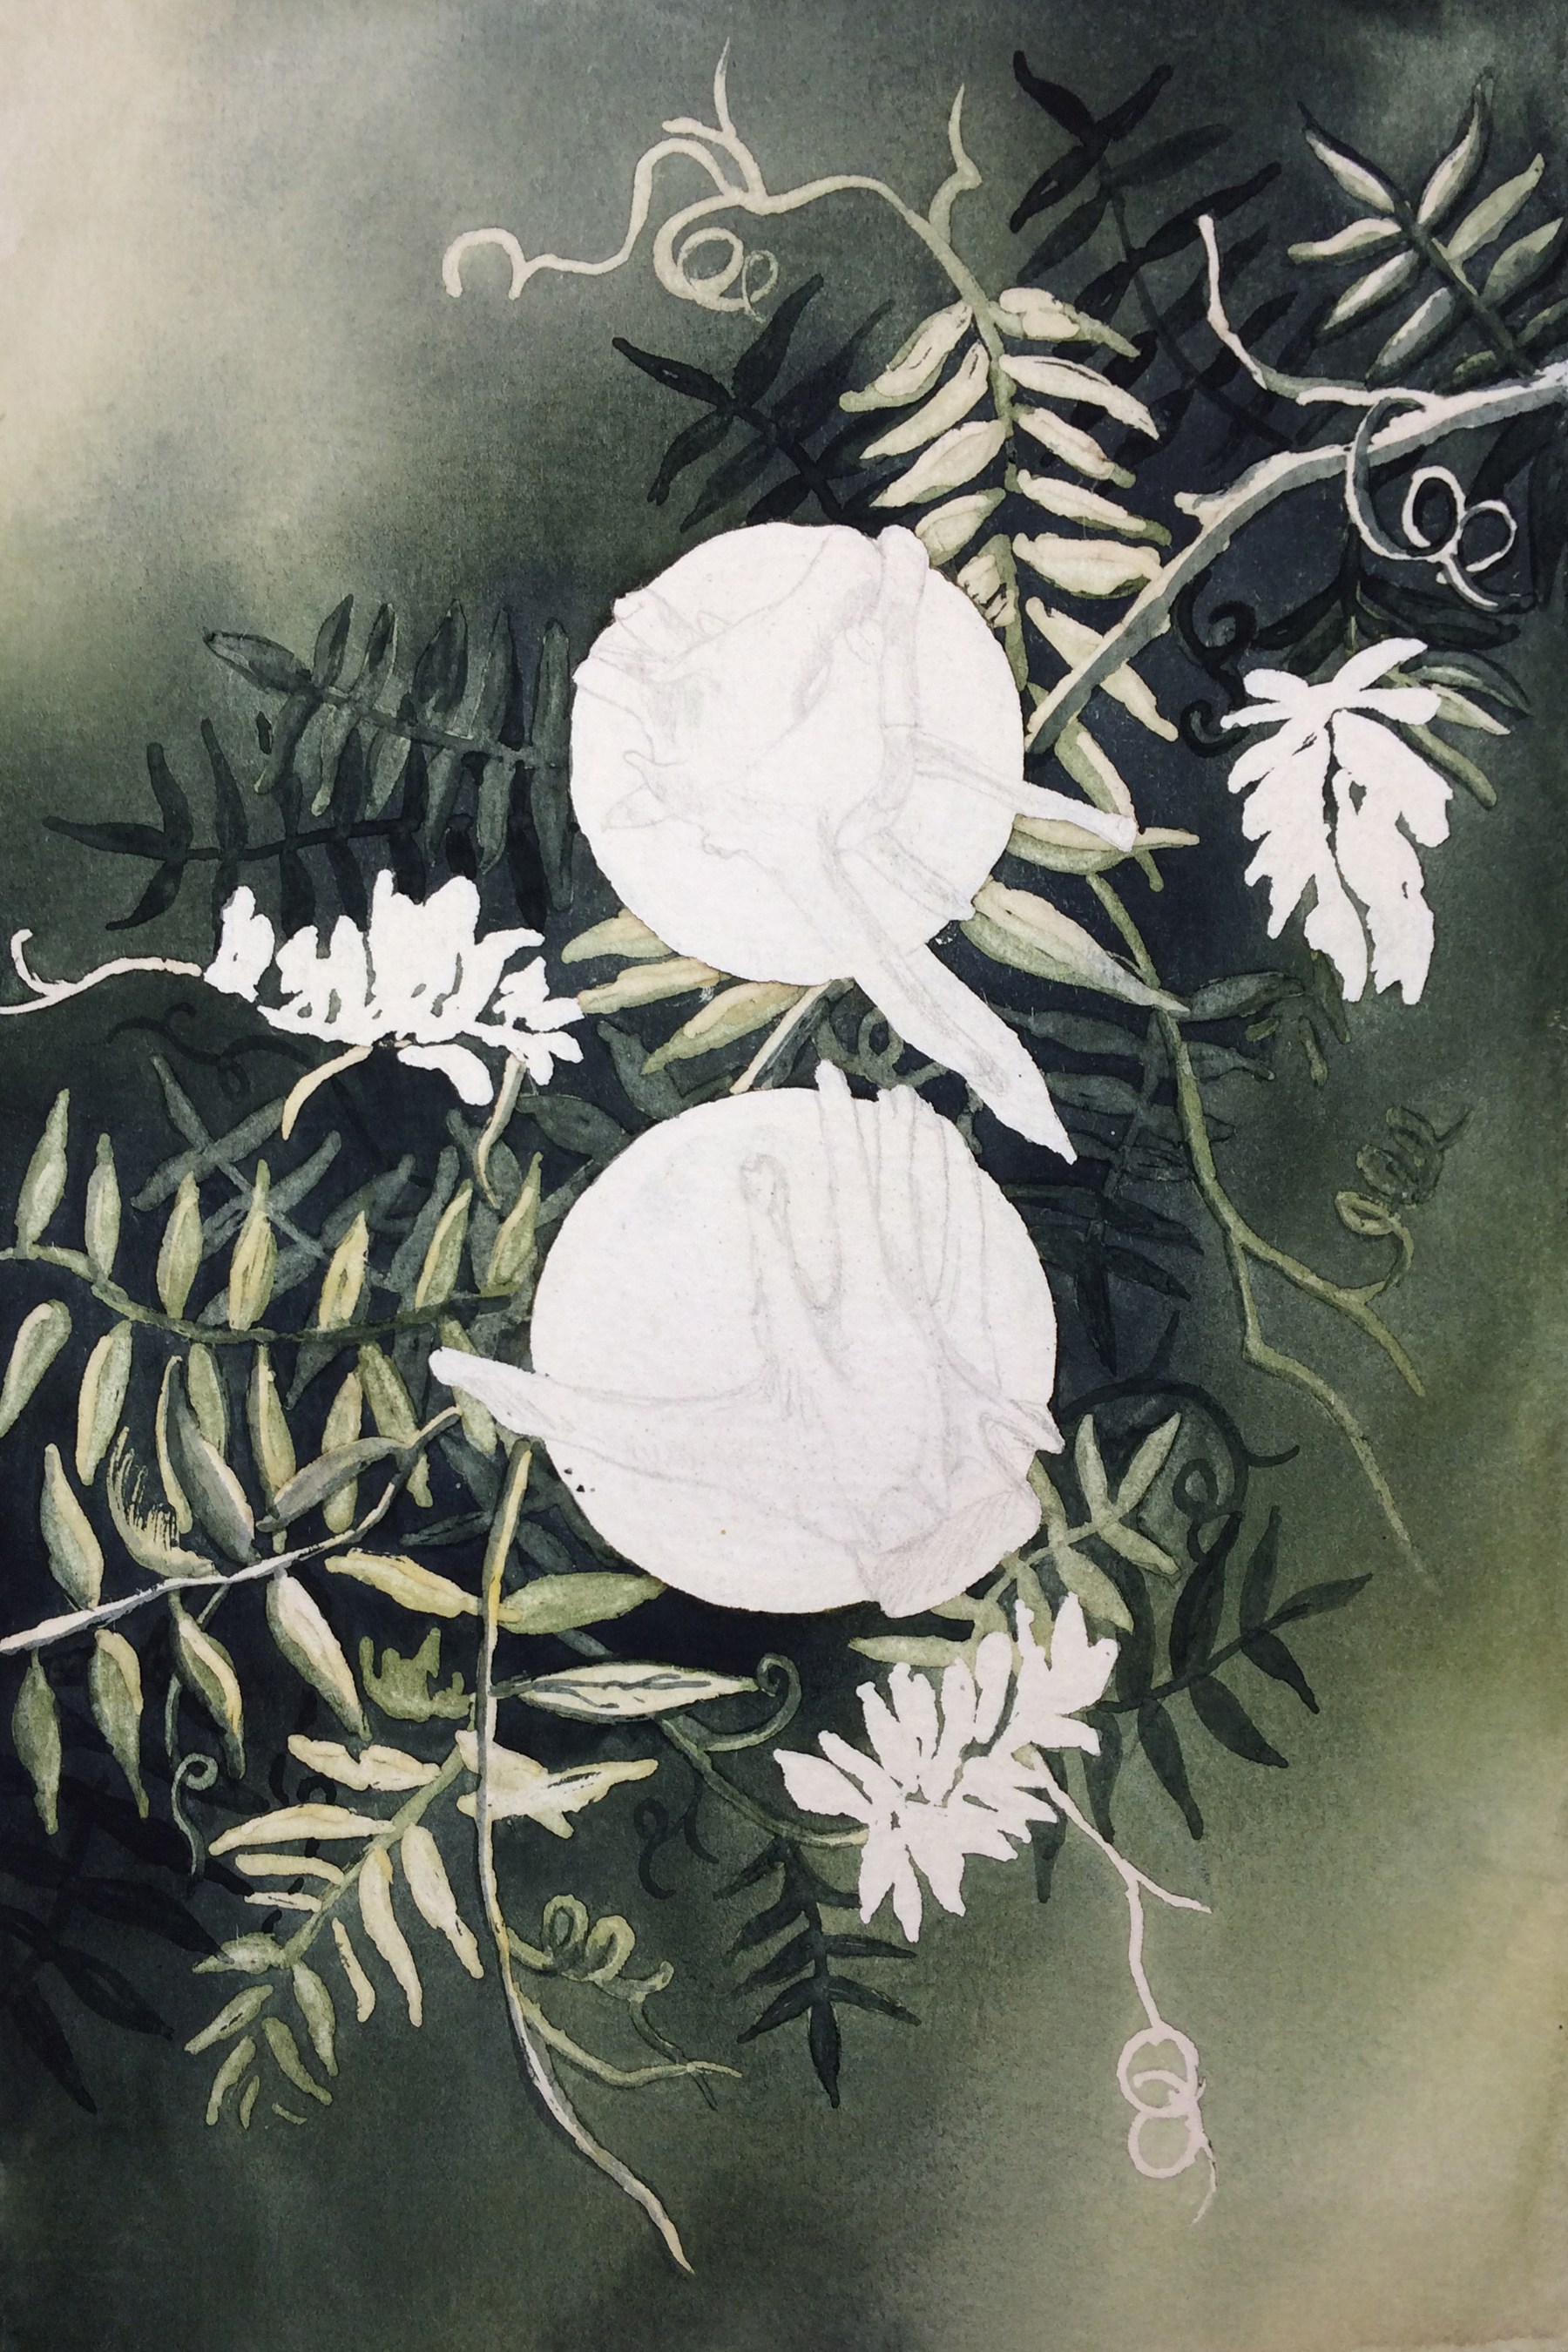
(left) wet (right) dry
duck vertebra - 14
Once I’d built up the background enough I carefully took off all of the masking fluid. This can be tricky (see below) and in the end the “higher end” frisket that I used was a bit overly disruptive to the darker pigments. As a result, the “depth” that was intended wasn’t quite up to my expectations.
rubbing off frisket (small)
When taking off frisket it’s easier to use your fingers than most other tools but as you rub – even if the paint is dried – some of the pigment will rub off on your fingers. If you’re rubbing around an area that is supposed to stay white,  the pigment on your fingers will often “smudge” and contaminate your white area – I prefer to use a white vinyl eraser to remove frisket in areas that need to stay white.
duck vertebra - 15
Because the frisket “lifted” (removed) more color that I wanted it to in the deeper leaves, I decided to glaze over some of these areas with a darker value to further the visual effect I’d hoped would be created to begin with. I added in additional darker foliage around this as well.
duck vertebra - 16
Similarly, I added a lighter yellow-green glaze on the foliage toward the foreground. At this point the depth that I’d envisioned was much more obvious.
additive wet on dry
Here are several details of the progressive building of depth after removing the frisket, including the application of warm colors to the blossoms through both a reductive and additive process.
thumbnail
I then finished off the painting with pen and ink. Ink was used to render each duck vertebra, but also to create lots of tiny little circles that create texture and visual interest as well as a bit more depth in the background. I feel that this also helps tie the vertebrae together with the watercolor ground.
duck vertebra - finished (small)
And there you have it, the final painting (scanned and with more accurate color).

Leave a Reply

Fill in your details below or click an icon to log in:

WordPress.com Logo

You are commenting using your WordPress.com account. Log Out /  Change )

Facebook photo

You are commenting using your Facebook account. Log Out /  Change )

Connecting to %s

%d bloggers like this: